# Progressive Web Application
A Progressive Web Application (PWA) is a type of web application and its main features are that can run in any platform, without the need of an internet connection and that allows push notifications and device hardware access.
# Features of the built PWA
- Can be installed
- Preserves the cache information and can work when offline
- Elements that not exist in the cache are now downloaded and added to it
- Service Worker intercepts every HTTP request
- Only works with the
HTTPSprotocol orHTTPif it runs onlocalhostfor development purposes, because the Service Worker has access to critical elements of the application and needs to work in a securely environment
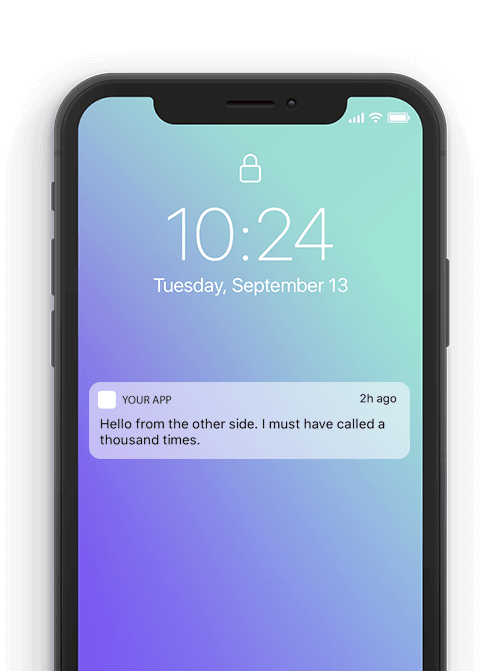
# Push Notifications
To add push notifications to a PWA, there are two different APIs that work together to achieve this goal.
- Notifications API - Uses the internal O.S. notifications feature to create notifications
- Push API - Deliver new content from the server side without any interaction with the client side, managed by the Service Worker
Notifications and Push APIs work separately like the Service Worker, which means that can send updates when the app page is not focused or even closed.
For this example push notifications are triggered from the browser itself, and the application is running with the Chrome Web Server extension. In a real example the only change that has to be made is to change the function updateSubscriptionOnServer and call the backend to update the subscription and the data to retrieve and store in the database.
To allow Push notifications, it is recommended the use of a button instead of launching the event without user interaction.
# Creation of a Vue PWA
Steps to create a Vue application with PWA support built-in.
Create the Vue application using the UI or with the following command
vue create <my-project-name>
In the project options, select PWA Support
Once the project is created, a registerServiceWorker.js file should appear in the src directory of the project. This is an automatically created file that registers a Service Worker for the Vue Application.
The Service Worker itself is not created until the project is built for the first time. The command to build the project is
npm run build (--watch)
After executing this command, various files should have been created inside a directory called dist. The most relevant now is the service-worker.js, which is the main Service Worker for the application.
IMPORTANT: Modifying the files inside the
distdirectory is not recommendable, because each time the project is built, all the changes are reverted. To add functionality to the Service Worker, it is recommended to create a new file calledservice-worker.jsin thesrcfolder, and then avue.config.jsin the root directory to specify which file to use as a Service Worker during build
module.exports = {
    pwa: {
        name: "pwa-vue",
        workboxPluginMode: "InjectManifest",
        workboxOptions: {
            swSrc: "src/service-worker.js"
        }
    }
}
2
3
4
5
6
7
8
9
vue.config.js
The name property should have the same value that our project name. The register-service-worker (installed automatically on project creation) uses Google Workbox module to customize the PWA functionality. The swSrc option indicates which Service Worker is going to be used on build.
Now the recently created service-worker.js file can be modified and all the changes will be applied to the original Service Worker with every new build.
Do not forget to execute
npm run build (--watch)after any change
The manifest.json is also created automatically, to modify it like with the Service Worker, there is a Workbox property to inject a custom Manifest, but for this example the default one is enough.
Now the application has all the requirements to work as a PWA, because by default, the Vue PWA Support module stores all elements behind the public folder and the ones created on the first build into the cache.
# Adding functionality to the Service Worker
# Storing elements manually in the cache
Most web applications usually include different frameworks/libraries for styling or adding functionality via Content Delivery Network. It would be interesting to have that content when the application is offline, but it can not be stored as the local files of the application. This method allows to store Google Fonts (Added to the project via <link> tag in the index.html file) into the cache.
workbox.routing.registerRoute(
    new RegExp("https://fonts.(?:googleapis|gstatic).com/(.*)"),
    new workbox.strategies.CacheFirst({
        cacheName: "googleapis",
        plugins: [
            new workbox.expiration.Plugin({
                maxEntries: 30
            })
        ],
        method: "GET",
        cacheableResponse: { statuses: [0, 200] }
    })
);
2
3
4
5
6
7
8
9
10
11
12
13
RegExpallows to store any content that comes from the Google Fonts website- The
CacheFirstWorkbox strategy ask for the element to the cache first, and if there is no response, the network will be used. This is useful for assets that are non-critical and can be gradually cached - The
workbox.expiration.Pluginallows to define a maximum number of responses to be stored in a cache at the same time
# Custom Push notifications
In order to add push notifications, it is necessary to ask the user to allow the use of System Notifications for the website, and it is done while the Service Worker is being registered
Notification.requestPermission();
Then, to intercept the Push requests and add functionality to the notifications, two event listeners are used in the Service Worker. The first is the "push" listener to know when a notification is triggered
self.addEventListener("push", e => {
    let push_message = e.data.text();
    click_open_url = "https://ricardo-vuepress-final-report.netlify.app/"
    const options = {
        body: push_message.body,
        icon: "./img/logo.82b9c7a5.png",
        image: "./itworks.gif",
        vibrate: [200, 100, 200, 100, 200, 100, 200],
        tag: "vibration-sample"
    };
    e.waitUntil(
        self.registration.showNotification("My Notification", options)
    );
});
2
3
4
5
6
7
8
9
10
11
12
13
14
Note that the notification can be customized with the
optionsparameter, adding text, icons and even images to it
The second listener is the "notificationclick" listener, to customize the action to be done when the user clicks on the notification
self.addEventListener("notificationclick", e => {
    const clickedNotification = e.notification;
    clickedNotification.close();
    if (click_open_url) {
        const promiseChain = clients.openWindow(click_open_url);
        e.waitUntil(promiseChain);
    }
});
2
3
4
5
6
7
8
# Server side
In order to create a server code that can use Push Notifications, the use of a third-party module is mandatory. For Node.js, the most commonly used is the web-push module, that communicates with a Push Service to send Push Notifications to the client-side.
const webpush = require('web-push');
const webPushContact = "mailto:<contact@email.com>";
const publicVapidKey = '<public-vapid-key>';
const privateVapidKey = <private-vapid-key>;
webpush.setVapidDetails(webPushContact, publicVapidKey, privateVapidKey);
2
3
4
5
For the example project, web-push allows to create a pair of VAPID keys to communicate the client-side and the server-side. With this code, the Push Service is ready to be used. In order to send a Push Notification to the client-side, use the following code inside an API route
// Inside a POST method
const subscription = req.body;
const payload = JSON.stringify({
    title: 'Test Push Notification',
    body: 'It works!',
});

webpush.sendNotification(subscription, payload)
    .then(result => console.log(result))
    .catch(e => console.log(e.stack));

res.status(200).json({ 'success': true });
2
3
4
5
6
7
8
9
10
11
12
The client will receive a Push Notification if an internet connection is available and executes a POST method to the server API.
# Notifications to specific users
Steps to be followed,
- Express API to store user subscription in to the database
- Get the user subscription from the database
- Create an API which can send push notifications using given parameter like (Challenge, User, Etc) when the event occurs